Installation & setup
Install the MDos managed cluster platform (Kubernetes cluster & extensions)
Info
At the moment, the MDos platform has been tested on Ubuntu >= 20.04 and Debian >= buster. I am currently working on porting the platform to CentOS as well, but it is not ready yet.
Other versions for those 2 distributions might work, but I have not tested them.
The MDos CLI is available for MacOS, linux and Windows
First, clone this repo on your target machine:
Before you start
The installation will require that you configure a valid domain name and a certificate for the mdos base platform (for development purposes you can choose to work with a self-signed certificate and by editing your /etc/hosts file. This will prevent certain features to work, such as SSO for instance. It is recommended to have a real domain name and a valid certificate for the full experience).
If you plan on using cert-manager to manage your certificate, then you will have to prepare a Issuer yaml file upfront before you go ahead and start the installation script (see bellow for an example using a CloudFlare issuer).
LoadBalancers & Ports
You will have to ensure that traffic to the following ports is routed for the following domain names from anywhere you wish to interact with the MDos platform from. So if you have load balancers in place, please route the following traffic for the following domains & ports to your target node IP address:
| Domain | Port | Description |
|---|---|---|
| keycloak.YOUR_DOMAIN | 30999 | User to administer your Keycloak instance and to authenticate your users |
| mdos-api.YOUR_DOMAIN | 443 | The MDos API platform REST interface, used by the MDos CLI |
| mdos-ftp-api.YOUR_DOMAIN | 443 | The MDOs FTP Server admin API REST interface, used by the MDos CLI & Controller |
| mdos-ftp.YOUR_DOMAIN | 3915-3920 | The FTP Ports used to transfer data to / from the FTP server |
| registry.YOUR_DOMAIN | 443 | The private Docker registry |
| registry-auth.YOUR_DOMAIN | 443 | The private Docker registry authentication server |
| longhorn.YOUR_DOMAIN | 443 | Longhorn storage solution administrative console |
| grafana.YOUR_DOMAIN | 443 | Grafana Dashboard for your Loki log aggregator |
Master node & MDos control plane
Install the platform by calling the following script as root:
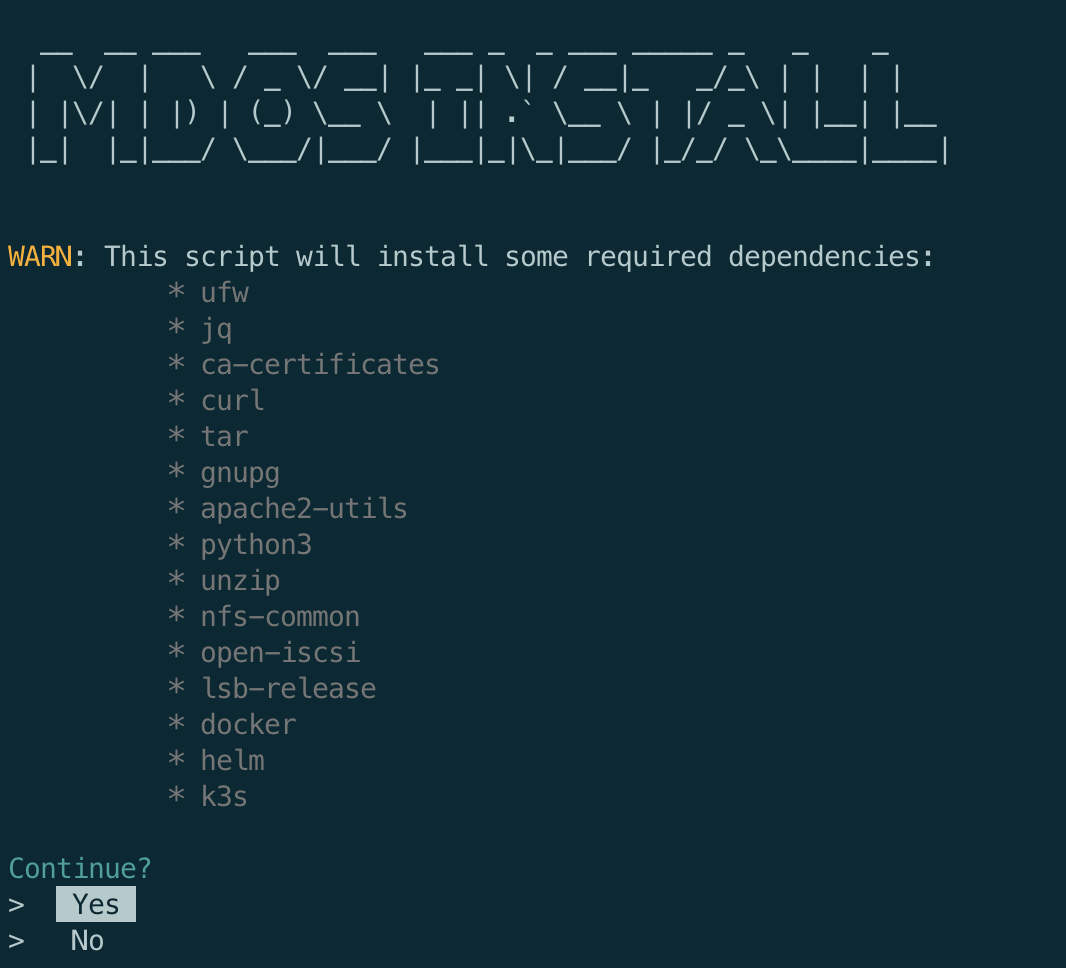
The MDos platform has a few dependencies, you will need to consent so that the script is allowed to install and configure those dependencies:
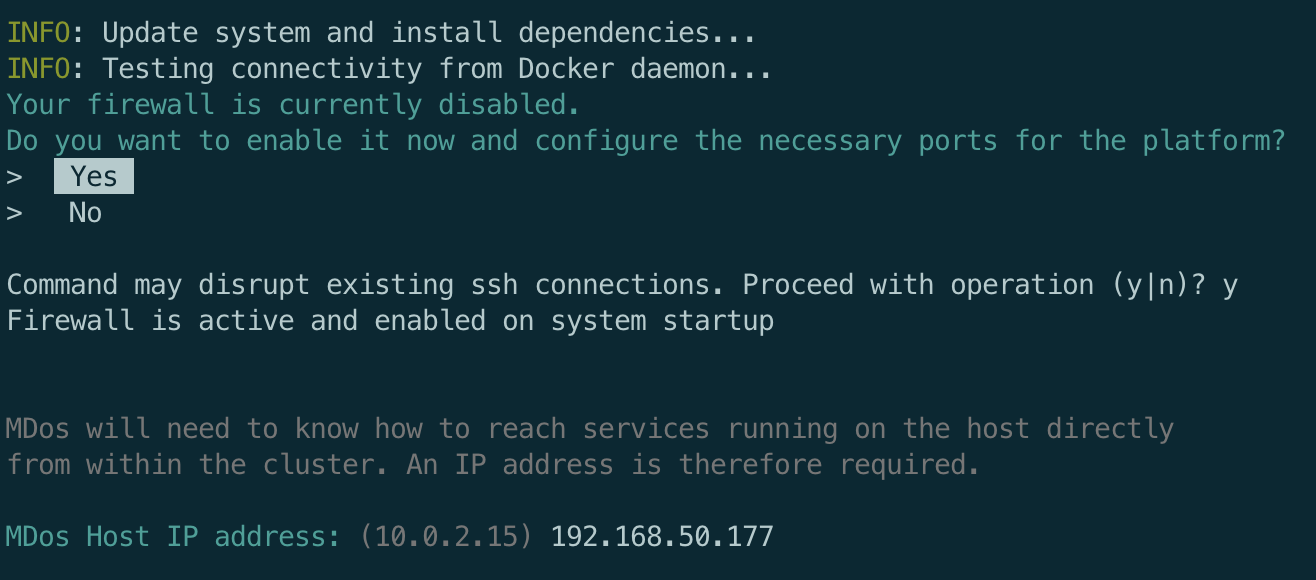
During the installation procedure, you will be asked to provide a few details. You will have to start by providing your MDos platform host IP address. Then select if you would like to automatically configure the host firewall in order to allow the required traffic policies for MDos.
Firewall rules
If you choose to NOT let the script configure your firewall, then configure the following firewall rules to allow the platform to run properly:
| Port | Protocol | Description |
|---|---|---|
| 443 | TCP | Kubernetes hosted applications, routed through the Ingress LoadBalancer Port |
| 6443 | TCP | Kube-API REST server |
| 30999 | TCP | Keycloak NodePort, needed to circumvent IstioIngress for OAuth2 purposes |
| 3915 - 3920 | TCP | MDos FTP Server port |
| 179 | TCP | Calico BGP Port |
| 4789 | UDP | Calico networking with VXLAN enabled |
| 2379 | TCP | etcd client requests |
| 2380 | TCP | etcd peer communication |
| 10250 | TCP | Anonymous authentication is disabled. X509 client certificate is required |
| 10255 | TCP | Read only port for the Kubelet. |
| 10259 & 10257 | TCP | Serve HTTPS with authentication and authorization. |
Administrator credentials
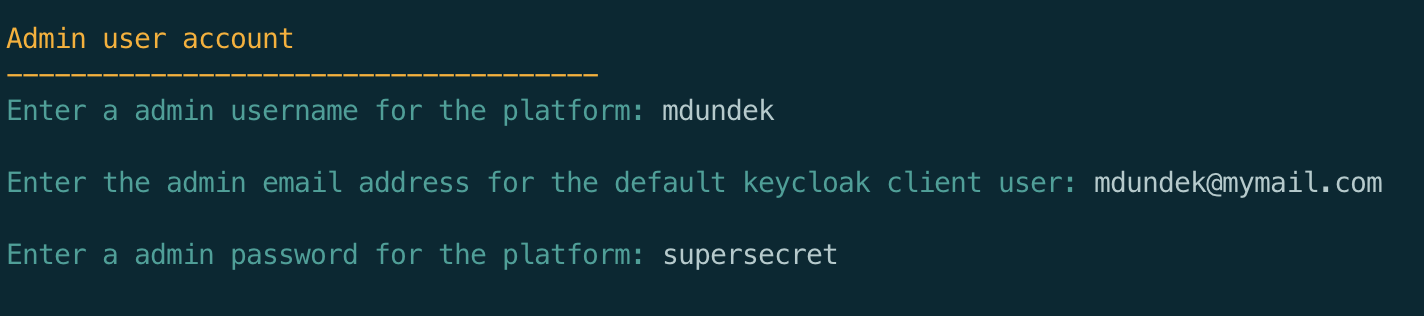
The platform will create a overall admin account on the platform. Please provide the admin username, email and password first:
Domain & certificate setup
Some of the components such as the registry auth server require a TLS certificate to function.
The installation script will give you multiple choices here:
- You have a valid certificate at hand that you would like to use
- You want to set up
cert-managerto generate and manage your certificate (Let's Encrypt, CloudFlare, Vault, AWS, Google...) - You have no certificate and would like to create a self-signed certificate (only suited for development purposes)
Warning
For development purposes, you can have the platform generate a self signed certificate for you, but SSO / OIDC functionality will not work with a self-signed certificate.
For production, you will have to use a fully valid certificate in order to use all of MDos features.
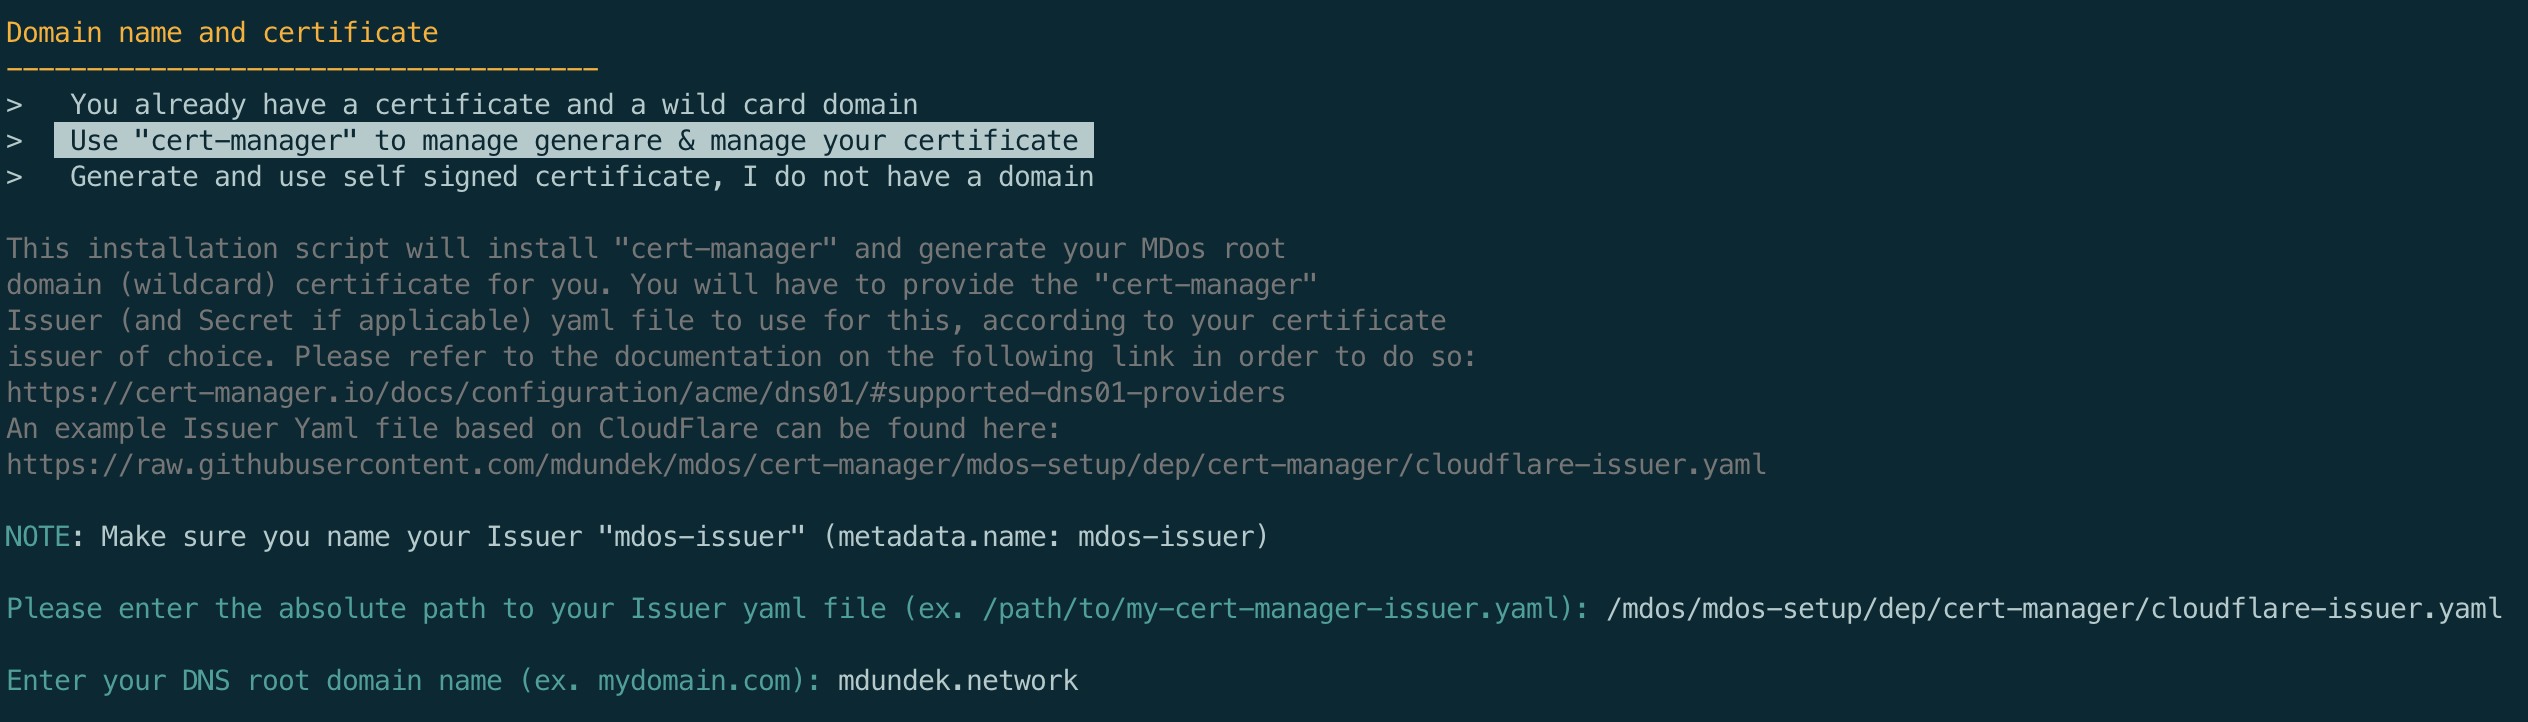
Here we are using cert-manager to generate and manage the certificate for you
Example
Issuer must use the name mdos-issuer, the rest is up to you. Here is an example Issuer yaml file that uses CloudFlare as the DNS registrar & Let's Encrypt to generate and sign your certificate:
apiVersion: v1
kind: Secret
metadata:
  name: cloudflare-api-key-secret
type: Opaque
stringData:
  api-key: <YOUR CLOUDFLARE API KEY>
---
apiVersion: cert-manager.io/v1
kind: Issuer
metadata:
  name: mdos-issuer
spec:
  acme:
    email: <YOUR LETS-ENCRYPT EMAIL ADDRESS>
    server: https://acme-v02.api.letsencrypt.org/directory
    privateKeySecretRef:
      name: letsencrypt-prod
    solvers:
    - dns01:
        cloudflare:
          email: <YOUR CLOUDFLARE EMAIL ADDRESS>
          apiKeySecretRef:
            name: cloudflare-api-key-secret
            key: api-key
Other examples for various providers can be found at: https://cert-manager.io/docs/configuration/acme/dns01/#supported-dns01-providers
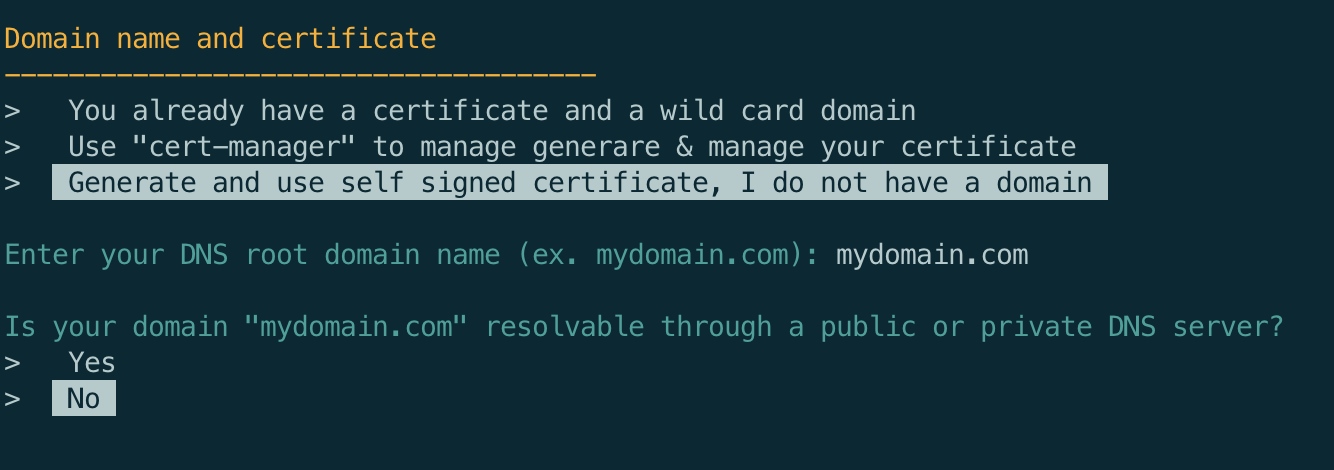
This example is based on the 3rd option, a self signed certificate. If you want to use cert-manager instead (good option for production environment), you will be asked to enter the path to your cert-manager Issuer Yaml file to use in order to issue your certificate.
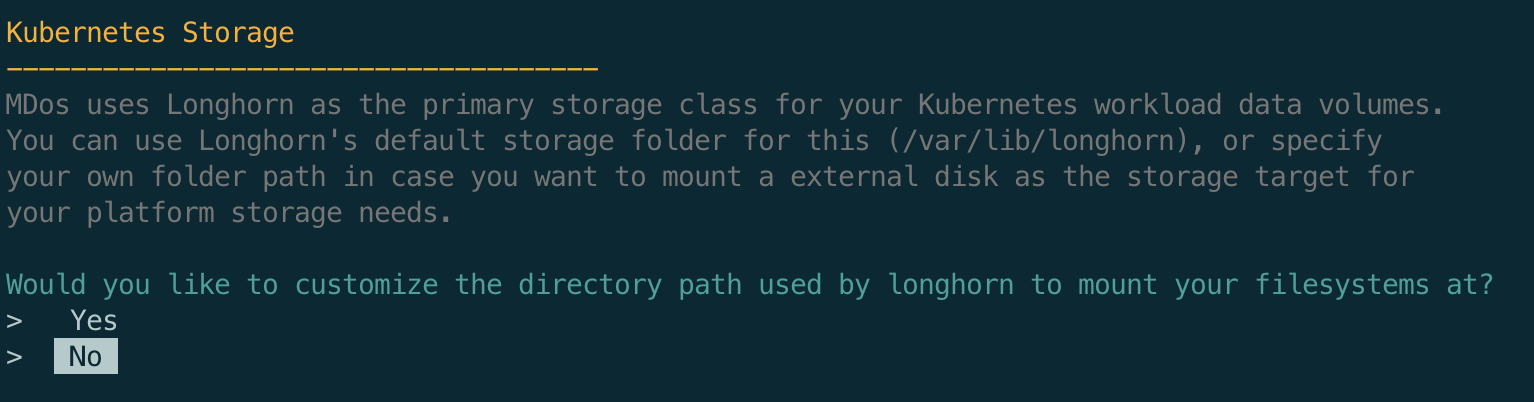
Kubernetes workload storage directory path
When you deploy applications onto your Kubernetes cluster, chances are that your applications will require to use permanent / persisted storage. Containers by default do not persist data beyond a container restart, You will therefore have to persist your container data on Kubernetes managed storage.
MDos uses Longhorn from Rancher as a storage class. Longhorn will store your container volume data in a dedicated directory on each Cluster Node. This is your chance to customize this directory path in case you want to store this data on an external hard drive that you mounted onto your host system. Please note that you need to ensure that you have enough storage capacity on this directory path, it is recommended to mount a separate dedicated disk for this purpose:
Note
Longhorn is a block storage provider, it replicates your data over multiple disks / partitions. Longhorn does work with only one disk, which is it's default setup configuration, but it is highly recommended that you configure at least 2, ideally 3 disks for optimal data redundancy. To configure those disk, on the same machine or on different machines, use the longhorn UI accessible under the URL https://longhorn.<ROOT-DOMAIN>
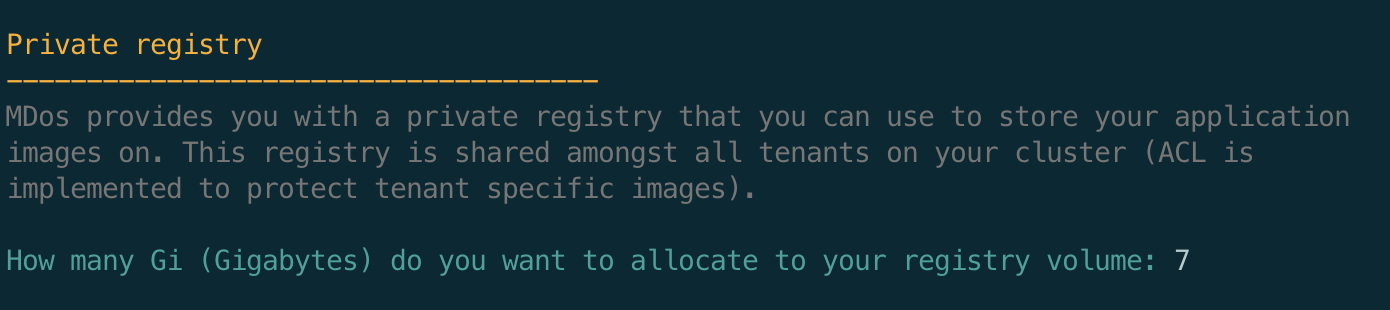
Private registry max size
MDos comes with a private registry where you can store your images on. The Kubernetes cluster is configured to use this registry if that's what you want to do in order to keep your images in house. This is also a must if you intend to run the platform in offline mode.
The registry runs in Kubernetes, it therefore needs to allocate some storage to it so that it can persist it's data on your disk. Here you need to specify how much space you wish to allocate to this registry (in Gigabytes).
Note
Please note that this storage capacity will be located on your main Kubernetes storage path specified above
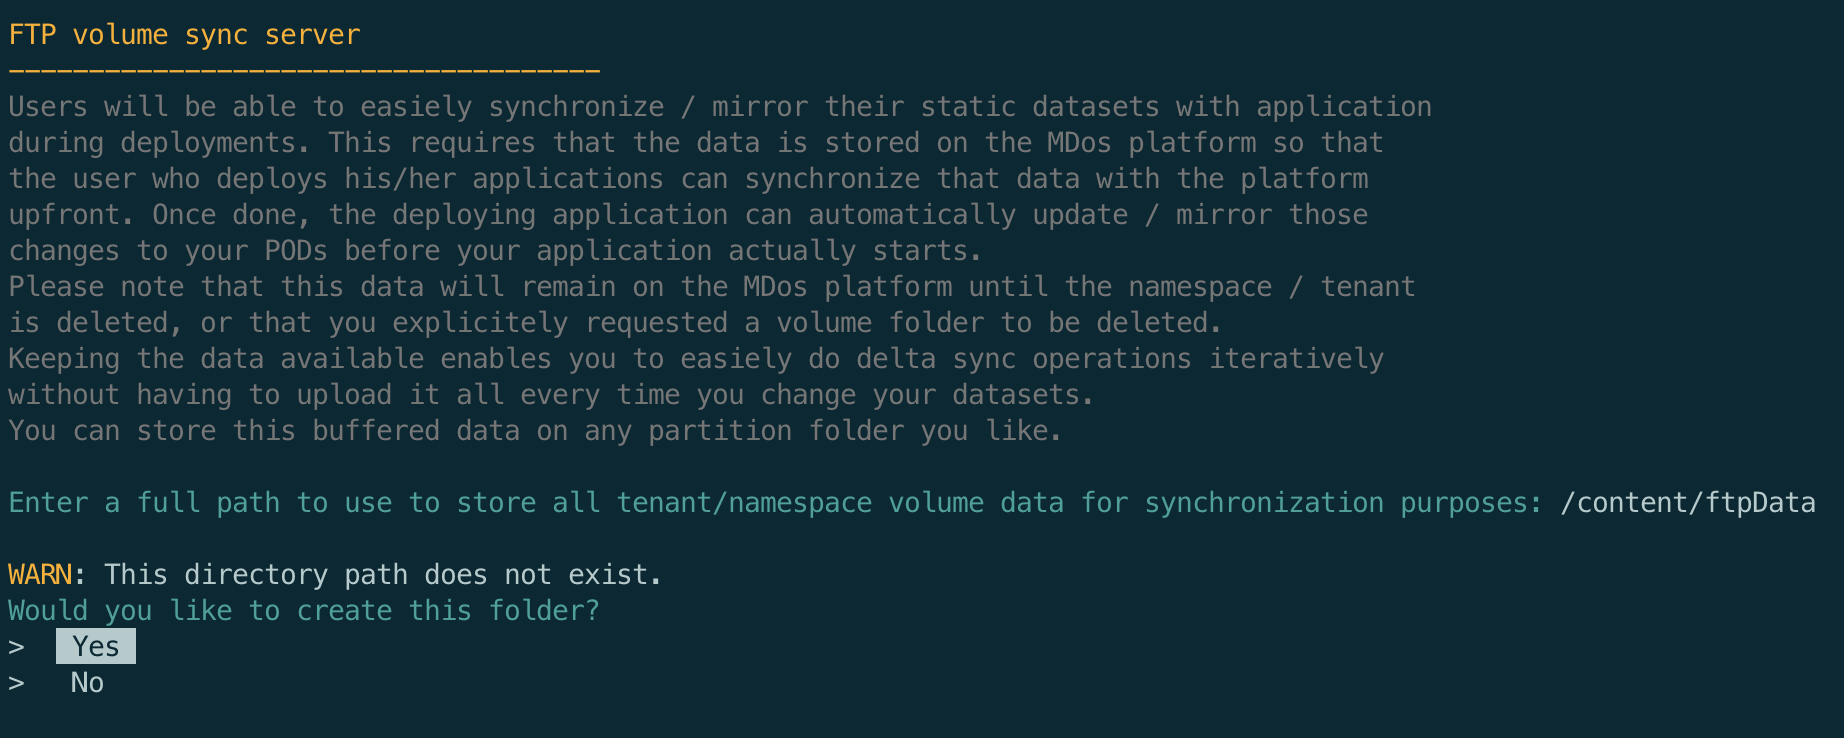
FTP sync server for Kubernetes POD data provisionning
When running applications in kubernetes using CSI storage plugins, you usually end up with a blank volume once your pod starts for the first time. This is usually a pain point for many developers who end up using hostPath mount points instead. This is an anti-pattern and does not go well with multi-node cluster environments where you can not easily predict where your pod is going to start.
MDos provides you with a means to initialize your application pods with data pre-allocated to it's volumes. This can be very useful for use cases such as (but not only):
- Provision a volume with a already pre-established database schema and data set for initialization purposes (or any other type of initialization data sets)
- Provision static data such as websites
- or for anything else for that matter...
This is achieved by providing a centralized storage space on the mdos platform where a FTP server will allow you to (using the mdos CLI) mirror your application volume data from your local machine to the centralized FTP storage device where Kubernetes will then mirror those data volumes onto your POD volumes using initContainers and the FTP protocol.
Here you are being asked to provide a directory path to where this centralized data will be hosted.
Again, this is your chance to customize this directory path in case you want to store this data on an external hard drive that you mounted onto your host system:
Configure Keycloak and set up the master token
After a few minutes (can take up to 10 minutes, depending on your internet speed), you will be asked to set up Keycloak and provide a secret token to the installation script.
This token is necessary so that mdos can administer everything it needs on Keycloak.
The script provides you with detailed instructions on how to do so, simply follow them and enter the secret token from the Keycloak website.
To finalize the setup, do the following:

  1. Open a browser and go to:
     https://keycloak.mydomain.com/admin/master/console/#/realms/master/clients
  2. From the 'Clients' section, click on the client 'master-realm'
  3. Change 'Access Type' value to 'confidential'
  4. Enable the boolean value 'Service Accounts Enabled'
  5. Set 'Valid Redirect URIs' value to '*'
  6. Save those changes (button at the bottom of the page)
  7. In tab 'Roles', Click on button 'edit' for role 'manage realm'.
     Enable 'Composite roles' and add 'admin' realm to associated roles
  8. Go to the 'Service Account Roles' tab and add the role 'admin' to the 'Assigned Roles' box
  9. Click on tab 'Credentials'
 10. When ready, copy and paste the 'Secret' value into this terminal, then press enter:

SECRET: cXXyx8EtGGL8BgCC9zVYQidKYuctzuXA
That's it, once the installation script is finished you are ready to use the platform.
Worker nodes
To add a new worker node to your mdos cluster deployment, clone the mdso repo on the new node machine and execute the following script as root:
This process is straight forward. Simply follow the instructions and you will have a new worker node in your cluster:
INFO: Update system and install dependencies...
Your firewall is currently disabled.
Do you want to enable it now and configure the necessary ports for the platform?
>   Yes
>   No

Command may disrupt existing ssh connections. Proceed with operation (y|n)? y
Firewall is active and enabled on system startup

MDos K3S master node host IP address: 192.168.50.177

To allow this worker node to join the MDos K3S Cluster, a "Node-token" is required.
You can find this token on the Master node by executing the command:

sudo cat /var/lib/rancher/k3s/server/node-token

K3S Master node-token: K1006ae41f56fc2f08eeb1d3ead2863347bc9785a9672f12fd31cb310cc0a9658ea::server:a6b26d8340c023c847e86b64b66416154684

INFO: Installing K3S worker node...
INFO: Setting up firewall rules...
INFO: Cleaning up...
Log details of the installation can be found here: /root/11_11_2022_10_29_37_mdos_install.log
INFO: Done!
Firewall rules
If you choose to not let the script configure your firewall, the configure the following firewall rules to allow the platform to run:
| Port | Protocol | Description |
|---|---|---|
| 443 | TCP | Kubernetes hosted applications, routed through the Ingress LoadBalancer Port |
| 6443 | TCP | Kube-API REST server |
| 30999 | TCP | Keycloak NodePort, needed to circumvent IstioIngress for OAuth2 purposes |
| 179 | TCP | Calico BGP Port |
| 4789 | UDP | Calico networking with VXLAN enabled |
| 2379 | TCP | etcd client requests |
| 2380 | TCP | etcd peer communication |
| 10250 | TCP | Anonymous authentication is disabled. X509 client certificate is required |
| 10255 | TCP | Read only port for the Kubelet. |
Install the MDos framework only onto your existing Kubernetes cluster
Installing the MDos framework on an existing Kubernetes cluster is straight forward using the MDos CLI.
Before you start
Prerequisite
- A Kubernetes cluster that has a default
StorageClassandIngresscontroller configured (check with the commandskubectl get storageclass&kubectl get ingressclass) - The
kubectlCLI needs to be installed - The
kubectldefaultcontextneeds to be configured to point to your Kubernetes cluster (look into the commandkubectl config ...for more details) - The
mdosCLI needs to be installed (Please refer to the section Install the MDos CLI for further information)
Install the MDos API server
Once those prerequisites are fulfilled, you can go ahead and install the MDos API onto your cluster:
mdos install-framework

INFO : Target cluster URL: https://192.168.50.179:6443

? Install MDos onto this cluster? Yes
? What domain name should be used to expose your MDos API server through the Ingress controller: mdos-api.mydomain.com
? Configure a TLS (HTTPS) certificate for this domain name? No

Installing MDos API server... done
Waiting for MDos to start... done
Configure your CLI endpoint... done

SUCCESS : MDos was installed successfully
During the installation, you will be asked to provide a resolvable domain name that will be used to access the MDos API server. To avoid exposing specific NodePorts on the cluster and call the MDos API server using a IP address, we use the Clusters default Ingress controller to configure this access. This is why an actual valid domain name is necessary here.
Workaround
If you do not have the possibility to configure your DNS server for such a domain to point to your Kubernetes cluster, then configure your local /etc/hosts file to resolve a domain name of your choosing to the Kubernetes Cluster IP address.
That's it, you can now start building & deploying your applications using the MDos CLI.
Install the MDos CLI
Linux & Mac OSX
The standalone install is a simple tarball with a binary. It contains its own node.js binary and auto updates.
To set up the CLI in /usr/local/lib/mdos and /usr/local/bin/mdos, run the following script. The script requires sudo and isn’t Windows compatible.
# Install latest version
curl -s https://raw.githubusercontent.com/mdundek/mdos/main/mdos-cli/infra/install-linux-mac.sh | sudo bash
To install a specific version of the CLI, do:
# NOTE: the version in this example might be outdated. This example is simply to
# showcase how you can install a specific version of the CLI in case your mdos server
# installation is on an older version
curl -s https://raw.githubusercontent.com/mdundek/mdos/main/mdos-cli/infra/install-linux-mac.sh | sudo bash -s -- v1.2.0
Windows
Go to the release page for MDos here and download the latest exe file for the CLI. Make sure your exe file is on your system PATH.
Verify Your Installation
To verify your CLI installation, use the mdos --version command:
Special notes about self-signed certificates without a resolvable DNS name
For development purposes, you can use self-signed certificates without a publicly available DNS name. That said, you will have to configure your hosts file from wherever you wish to use the CLI from so that it can resolve the various hostname used by the MDos API platform.
Note
Please replace XXX.XXX.XXX.XXX with the MDos Platform server IP address, and mydomain.com with the actual domain used when you deployed the MDos platform.
Linux & Mac OSX
Open your /etc/hosts file (root user) and add the following entries to it:
XXX.XXX.XXX.XXX registry.mydomain.com registry-auth.mydomain.com mdos-api.mydomain.com mdos-ftp.mydomain.com mdos-ftp-api.mydomain.com longhorn.mydomain.com
Note
Please replace XXX.XXX.XXX.XXX with the MDos Platform server IP address, and mydomain.com with the actual domain used when you deployed the MDos platform.
Windows
Open your c:\Windows\System32\Drivers\etc\hosts file (root user) and add the following entries to it: